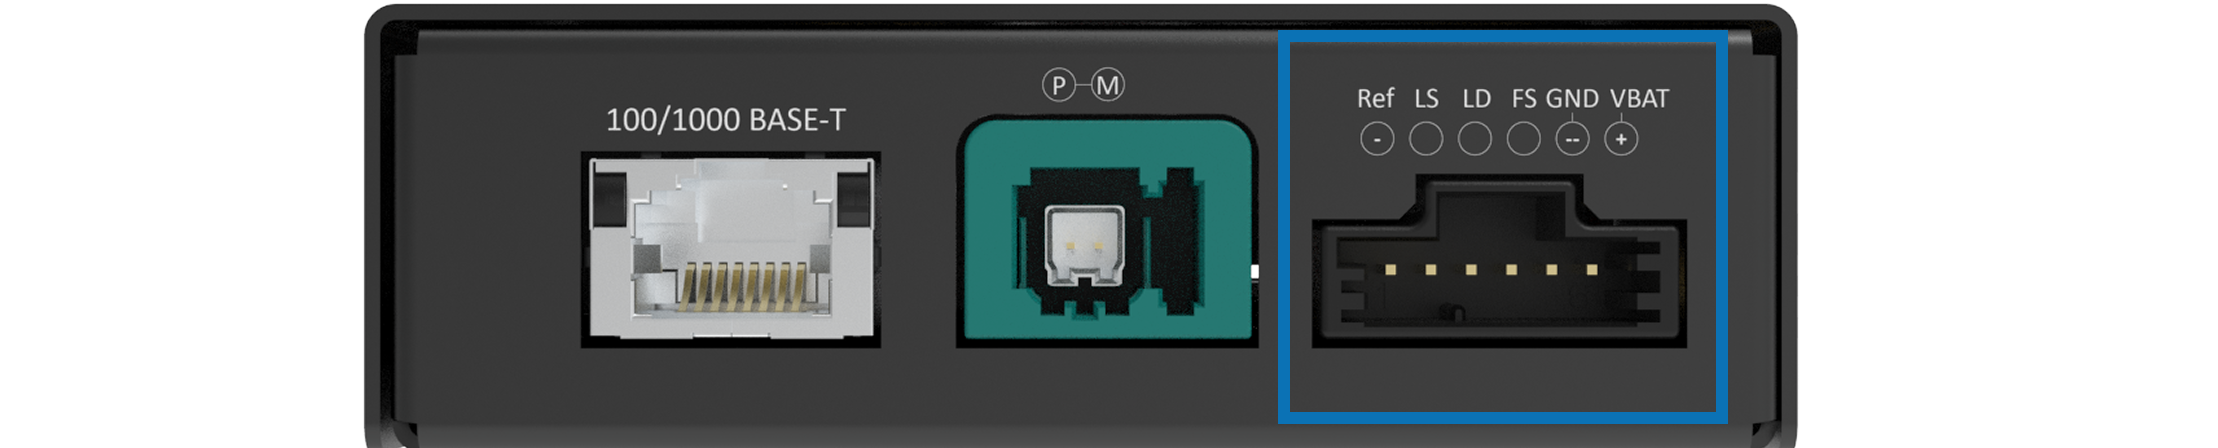
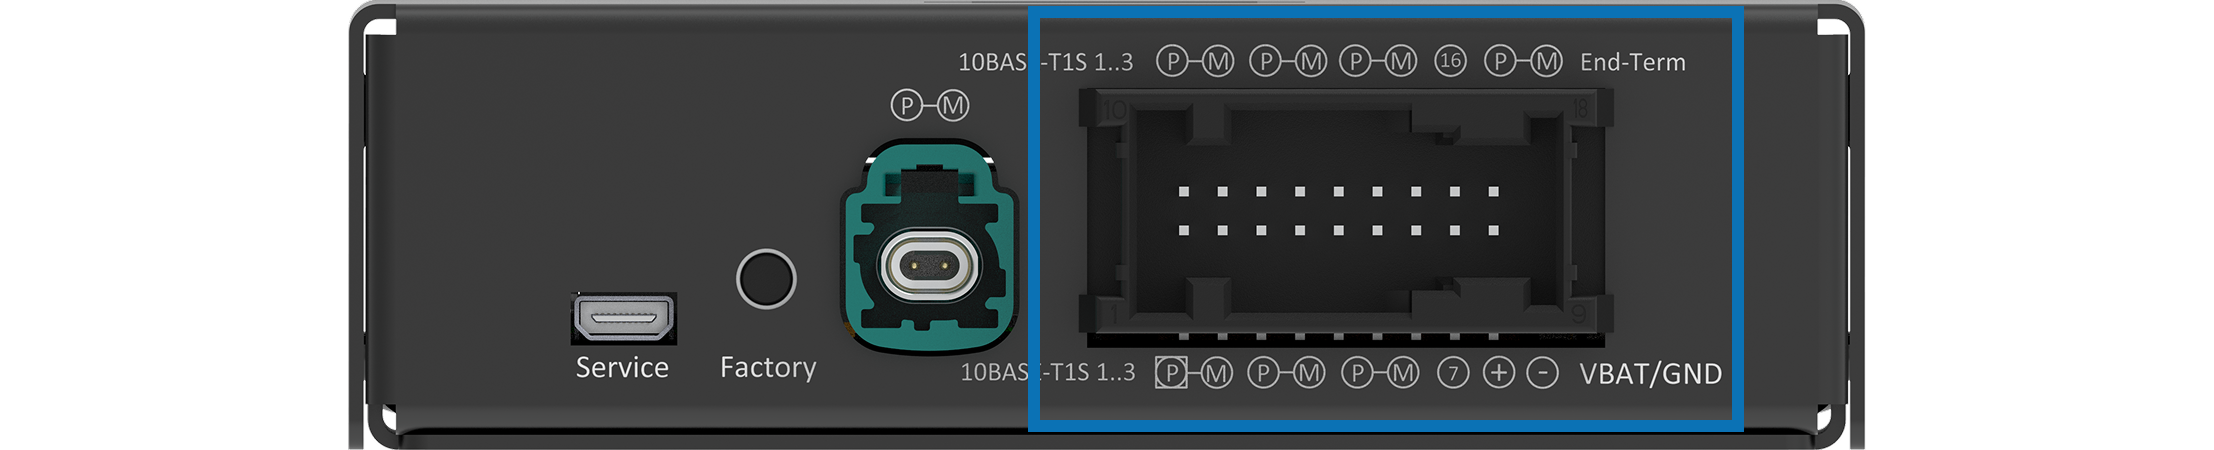
Connect red cable to VBAT+ (pin 7 or 8) and black cable to GND (pin 1 or 2). See reference image below for the relevant connector.

How to open the configuration webpage
Connect red cable to VBAT+ (pin 7 or 8) and black cable to GND (pin 1 or 2). See reference image below for the relevant connector.

Connect an RJ45 cable from the PC to the host port / 100 BASE-TX of the EES. See reference image below for the relevant connector.
.png)
As vehicle architectures become increasingly software-defined and connected, cybersecurity is no longer an isolated feature. It is a foundational layer of the entire system 10.0.0.XX with subnet mask 255.255.255.0
To access the configuration webpage, Enter the IP address 10.0.0.200 your standard web browser.
High-Speed Logging & Rotary Switch Addressing Setup
Connect red cable to VBAT+ (pin 1) and black cable to GND (pin 2). See reference image below for the relevant connector.

Connect an RJ45 cable from the PC to GB A. See reference image below for the relevant connector.
.png)
Once connected with the RJ-45 port, please go to the network adapter settings and adjust the IP in the same range as your Capture Module.
Enter an IP in the same network, for example 10.104.3.XX with subnet mask 255.255.255.0
Set the rotary switch (IP Config) to position 0. Each rotary switch position is linked to an IP address in the table on the label on the bottom ofthe device. Use the IP shown on the label for position 0. See reference image below for Rotary switch.
.png)
The above URL is an example based on rotary switch position 0, specifically for CM1000 High. For other Capture Modules, refer to rotary switch position on your device.
The configuration webpage can also be reached over the Host / Config port with the default IP 192.168.0.49. In this case set the PC to 192.168.0.x (x not 49) with subnet mask 255.255.255.0.
Physical Layer Converter • Serial Console over USB
Connect red cable to VBAT+ (pin 6) and black cable to GND (pin 5). See reference image below for the relevant connector.

Connect the MC to the PC with the USB cable.
Open the app and select USB serial port.
Select the device serial number and click Open port.
Open Tera Term and go to File → New connection
Select Serial and choose the device's USB COM port.
Click OK and the console opens.
Automotive Protocol Interfacer • BASE-T/BASE-T1 Host Port Setup
Connect red cable to VBAT+ (pin 8) and and black cable GND (pin 9). See reference image below for the relevant connector.

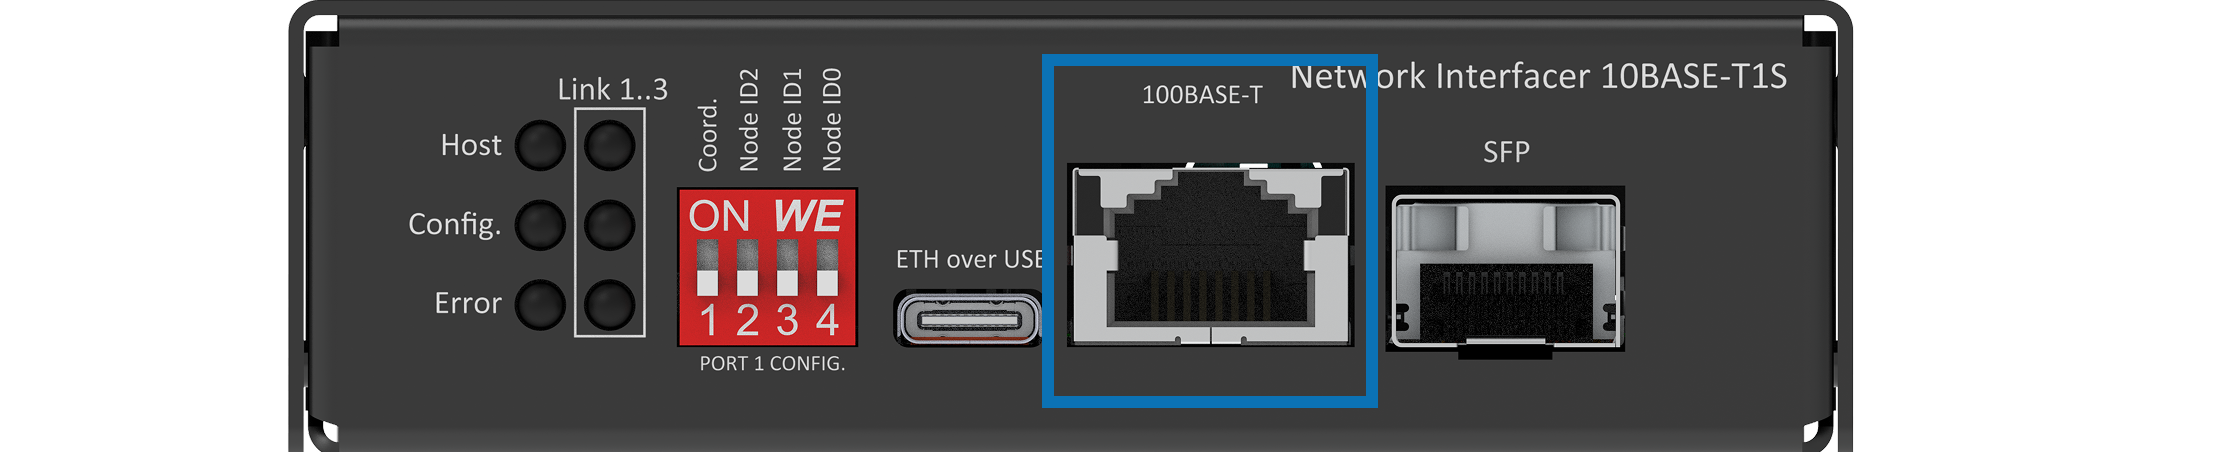
Connect an RJ45 cable from the PC to 100BASE-T/Host port. See reference image below for the relevant connector. You can also connect to Network Interfacer BASE-T through the USB-C or SFP port.
.png)
Once connected with the RJ-45 port, please go to the network adapter settings and adjust the IP in the same range as your Network Interfacer. For example, 10.0.0.XX with subnet mask 255.255.255.0
To access the configuration webpage, Enter the IP address 10.0.0.200 your standard web browser.
To get access to the configuration webpage, open a browser and enter the IP 10.0.0.100